1985: Bruce’s Origin Story (Sort of)

img_8338

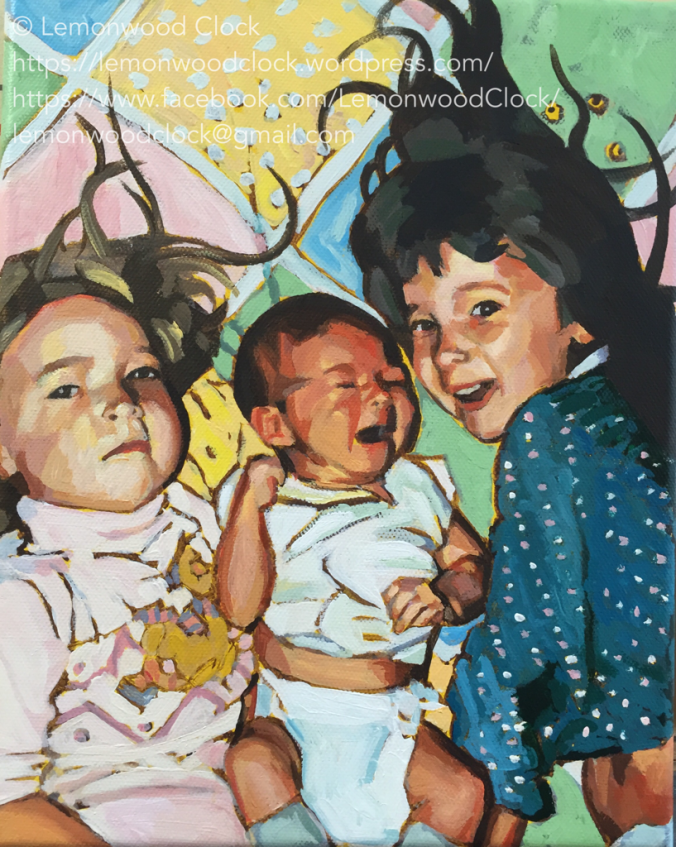
1985. Acrylic. 8×10. Artist: Rebekah Robson. 2016.

Bruce Charles Wilson was born June 28, 1985.  I don’t remember much about him at that time, but his birth brought me the greatest gift of all: a plastic charm bracelet (you 80’s girls know what I’m talking about).

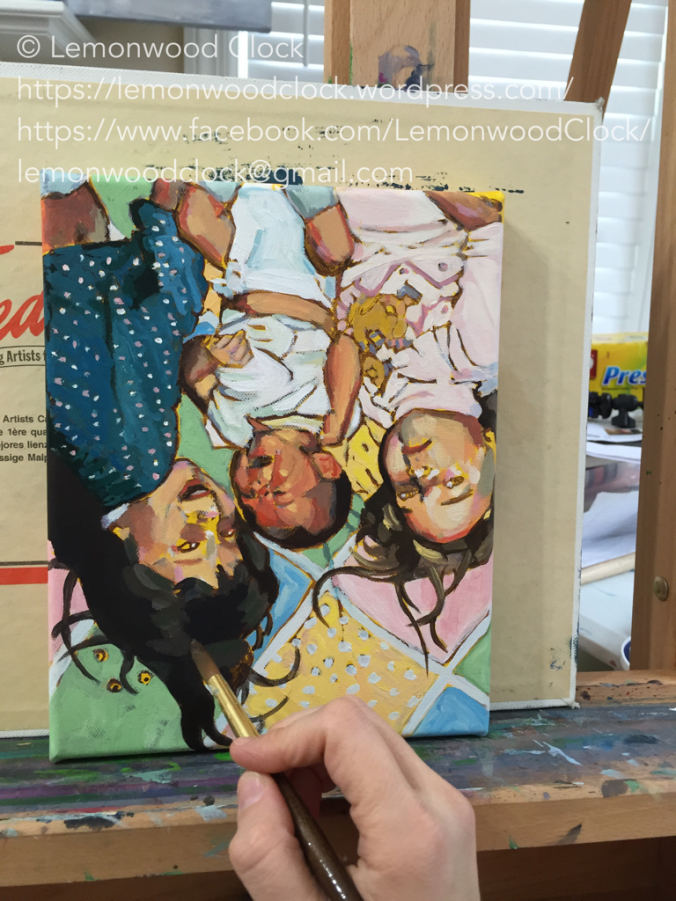
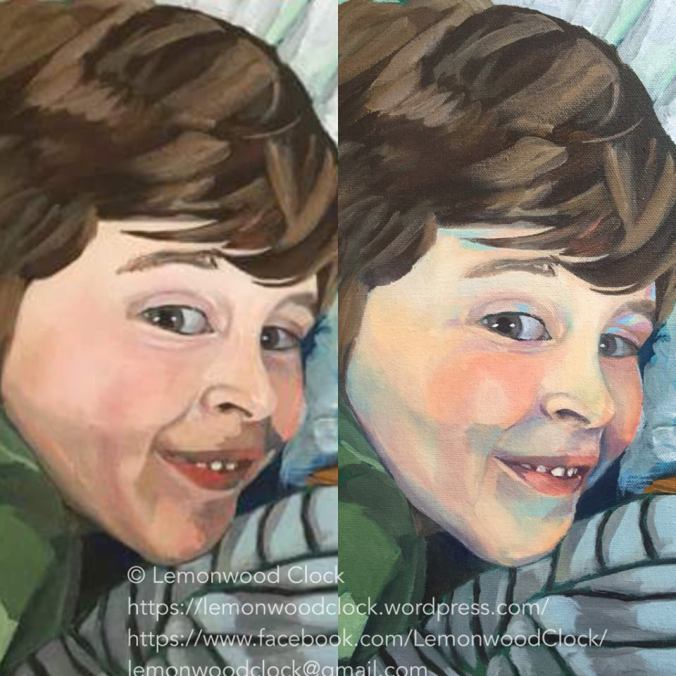
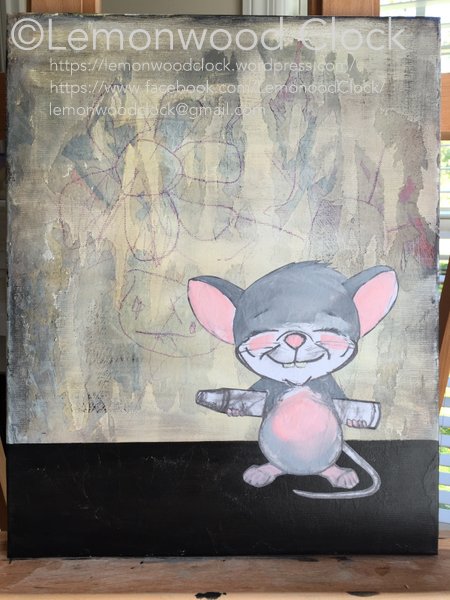
I painted this entire piece upside down to try to focus on shapes and colors vs face/hand/eye etc.

I must have felt an intense responsibility for Bruce, though. The first dream I can remember occurred during that time. I’m carrying him and I discover he has a fatal shrinking disease. Soon, he can fit in palm of my hand and I have to keep him in a plastic bag to protect him. I still feel a little scared and frantic when I think about that nightmare.

img_7961

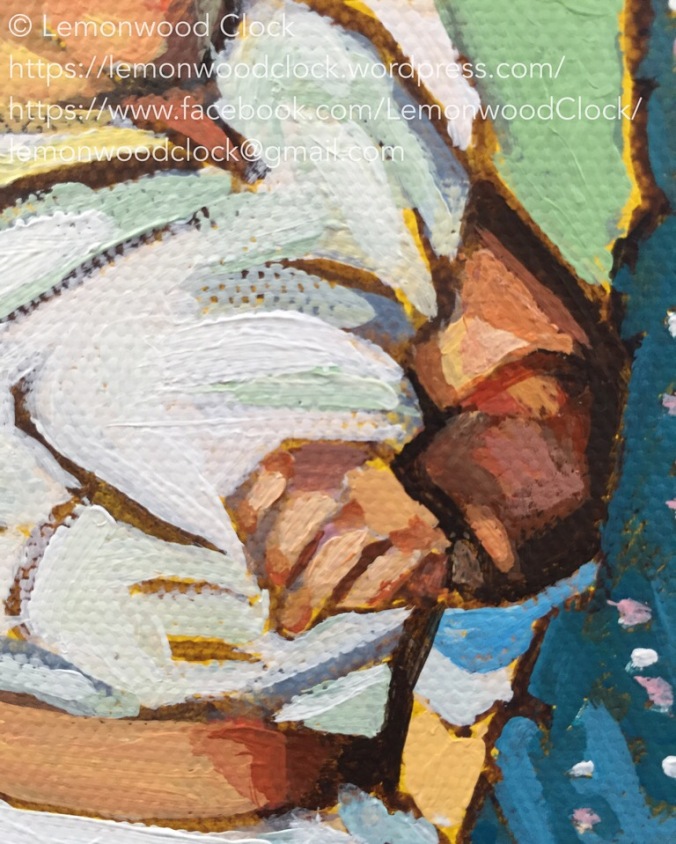
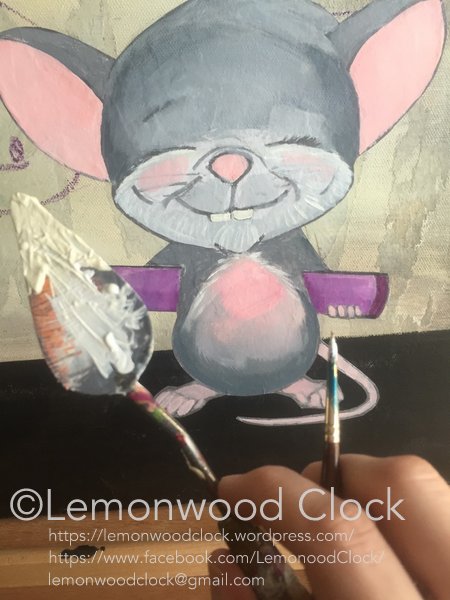
This is my favorite part of the whole painting. I could look at this for days.

Deborah, my younger sister, also wanted to protect our new baby. She turned his bassinet over once while trying to comfort his cries.

img_8337-1

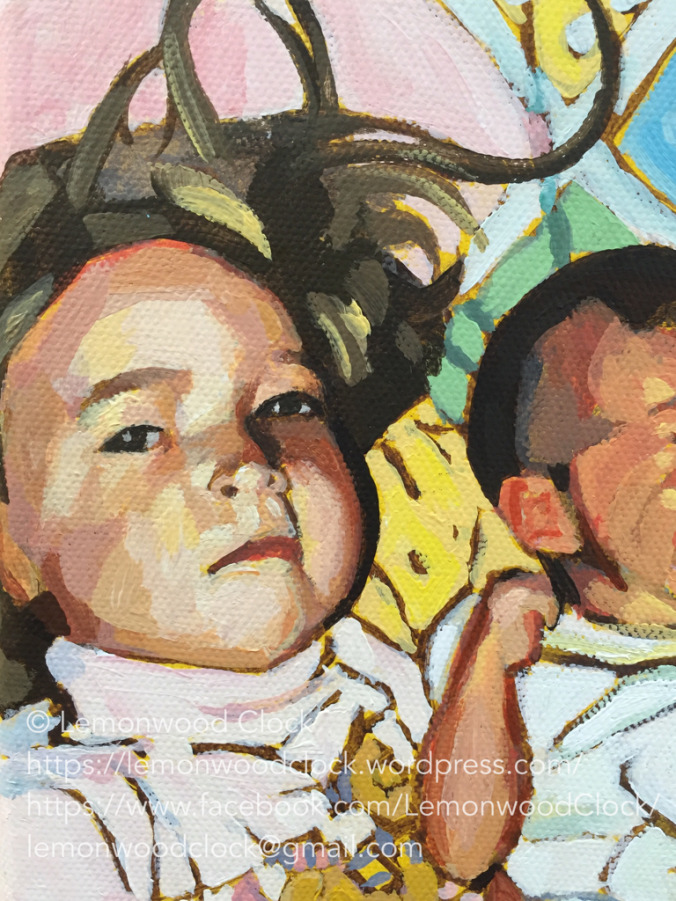
Deborah’s face was the most difficult part for me. I’m not even sure why. But I loved the end result so much.

One day, Bruce would grow into a little boy with crazy-curly hair and permanent coating of dirt, but those stories are for another time.

Visit my website to view and purchase prints of my work. Sign up for my newsletter for more awesome content and to be alerted when new prints and originals are available.

To learn more about Bruce, the full-grown chef, visit his food truck page on Facebook.

imb_90956721-ce53-47f9-9c1a-2584b560ab7e

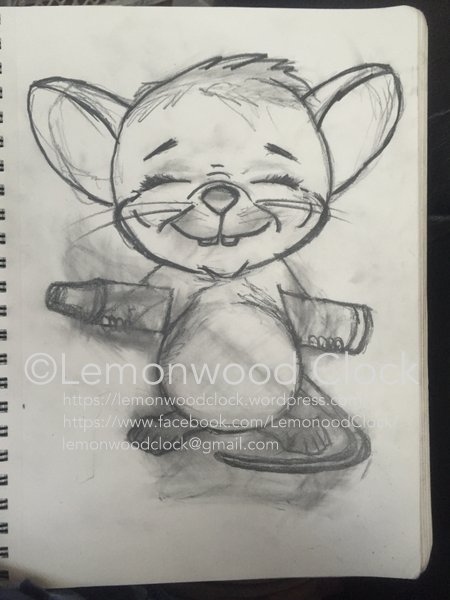
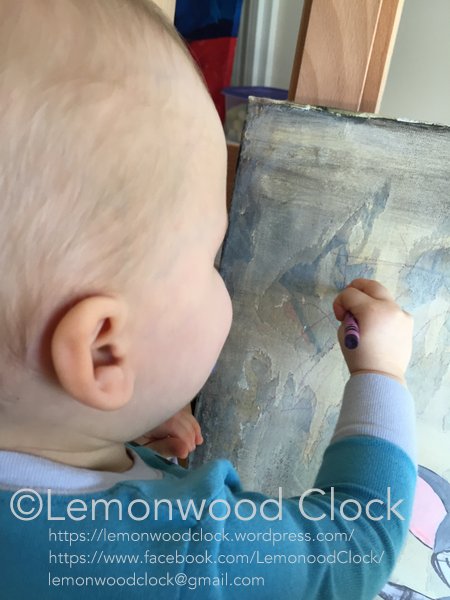
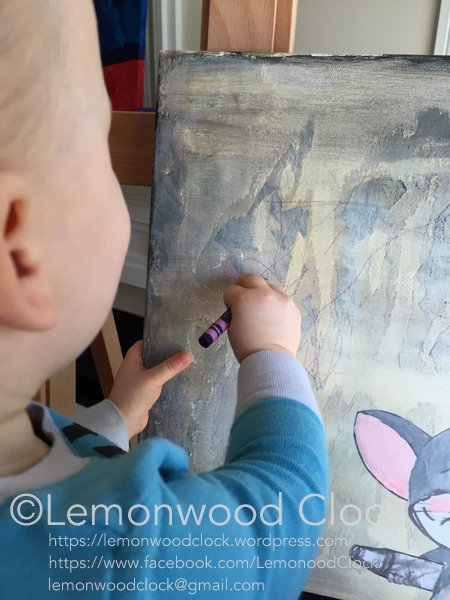
This is my first attempt at a gif. It doesn’t appear to be playing. Please enjoy this still frame of the original sketch while I sort out my technical difficulties.

Learning For Life

dex comparison

I was commenting on another blog post, and I realized I’d typed something that I’ve wanted to say for a while. So I pasted it here as a jumping off point:

I’ve just accepted that I’m always going to be in the learning phase, and that it’s ok. It’s helped me a lot to hear pros say they toss about half of everything they create. I used to treat everything like it was going to be THE masterpiece (and still struggle with that) so I’m not willing to take risks, and it makes me wait until I am super inspired. I’m working really hard now to reframe all my work ask practice, at least for now.

I’ve been more or less hiding the painting above for a week or so. I put a lot of time into it, but it wasn’t working. I finally decided to go out on a limb and try some dramatic coloring. I definitely learned some beneficial things, but this wasn’t the fix I was looking for. I was disappointed. So I hid it.

But that’s me slinking back to my old ways of only showing my work when I feel like it’s good enough, trying to pretend like I don’t create bad work.

So I’m a learner. So I mess up. A lot. It’s going to be ok… it’s going to be ok.

Inspiring Artists: Lachri Fine Art

I came across Lisa Clough-Lachri of Lachri Fine Art when I was searching for YouTube videos about motivation to paint and becoming better at the business side of art. I connected immediately with her videos. It was like she was answering every question I’d ever asked.

This was one of the first videos I watched and it was enormously helpful to me. She recommends putting thought into your sensory experience while painting, which was really intriguing to me. Sounds, smells, having tea while you paint (if you feel safe drinking in your studio!)… just setting up this routine that engages your senses and lets your brain know what mode to be in.

A few others I heart:

7 Tips to Improve Your Art

5 Think You Should Do to Improve Your Art (This is more about setting goals than about specifically improving your artwork)

5 Ways to Get More Followers For Your Art on Social Media

How to Cure Artist Block

Ok, I could keep linking these for a very long time, but I’ll stop there. Check her out, she’s great!

Shnoof Learns To Draw

d

Shnoof Learns to Draw. Acrylic, Crayon, and Collage on Canvas. 16×20. April 4, 2016.

I finished my newest piece, Shnoof Learns to Draw, last night and wanted to share my process.

I don’t have an exciting story for how this painting popped into my head. I’d already completed the background and was sort of staring at it to decide what I wanted to do and then the idea just sort of unfolded. I based the mouse on a face my niece does along with some features from my 18 month old.

First of all, I am TERRIBLE at translating images from my head to paper. I have to just sort of feel my way through it. For a long time I’ve been embarrassed by that, but it is what it is and I’m making efforts to improve. Don’t let fear and self-consciousness prevent you from creating! All artists struggle with something. 

I currently enjoy sketching my figures into a sketchbook, cutting out the image, and then adhering it to my canvas with matte medium. This time I actually made a photocopy for my work so I could keep the original.

IMG_5913

I didn’t photograph the process of creating my background. This particular piece was made by covering a canvas with an old sketch of mine, painting the image, then ripping off strips of the paper. I then laid down several washes to create the look I wanted for the floor and wall.

thumb_IMG_6039_1024

I had my baby help me with the crayon scribbles because I wanted it to look authentic. I held his hand and helped him make the recognizable shapes. He loved this part and was really upset when he had to stop. (I’d like to add a note here for artists who are moms, or even artists who have day jobs and are crazy busy and never have time to paint: I did this painting largely in 15-20 minute bursts. I often fail to create because I think I don’t have time, but by carving out tiny chunks here and there, I was able to put my vision on canvas and still have time for my other roles. When my baby got tired of playing alone and couldn’t take it anymore, I just stopped. When my older son wanted me to play Minecraft with him, I’d tell him I was going to set a 20 minute timer and then spend time with him. I hope this is an encouragement for those of you who are struggling to fit it in as well!)

IMG_6042

IMG_6043

I started layering paint when I had time. I tried out a new wet into wet technique using a mop brush (which is made out of goat hair and definitely smells like it). You can find the tutorial I used here. I don’t have an airbrush so I had to stop when my paint started drying. But just the small bit I did made a huge difference in my color blending!
IMG_6046

In the name of transparency, I will show you a failed attempt at fur. I used my palette knife to hold my paint and a tiny brush to try to add fur on the stomach and muzzle. No no no no. I had to cover all that up. It did not go well.

thumb_IMG_6062_1024

To finalize the piece, I went over the scribbles that I wanted to stand out. Once I finished filling in my image, I went around the entire thing with a brown black outline.

d

Thanks for reading! I’d love to hear if you try any of these techniques in your own work and tips for how you fit creativity into your days!


Lemonwood Clock on Facebook

IMG_9711

This is a short and sweet post to announce the launch of the Lemonwood Clock Facebook page. I took a creative break due to random life events, like growing a baby (that’s still creative!) and badly breaking my toe (I found a creative way to do it too!! I can’t stop!).

I’m really excited to share quick progress updates and amazing tips I’ve been learning and to share other artists that have been inspiring me. I also want to create a space where other artists can feel encouraged and have conversations about their experiences as well.

Hope to see you there!

(Pssst, also look for lemonwoodclock on instagram!)

Capsule Wardrobe: Winter 2014/2015

I know it’s already spring, but I just figured out how to make photo collages (Yay! And thus endeth another battle with technology!) so I’m posting my winter wardrobe late. One day I want to talk more about what a capsule wardrobe is and why I am doing it (for those of you who aren’t already familiar) and why on *earth* I’m blogging about it in the midst of all the other people’s posts about capsule wardrobes (for those of you who *are* familiar with them). But for now, here’s my wardobe. There are a few items that didn’t make it into the shots because they were dirty (like by black and white tees). teescollage

shirtscollagedressescollage completerscollagepantscollageskirtscollagescarvescollage randocollage

Sup

Soooooo… I've been MIA for a really long time. I have great excuses, including having a new baby (yay) and just getting burned out on the crafting/blogging/wash/rinse/repeat system (boo).

I've been feeling the blogging itch again, but I'm just going to sort of do it on my own terms (wasn't I already?) and just post whatever I want, when I want.

Unfortunately, having been away a while means that everything looks different, so I feel a little lost. Expect my first couple of posts to look weird

Now that I've done my 'splaining, here's what I'm up to these days:

1. Not much. New babby is keeping me busy. He is cuuuuuuuute, and he is totally a mama's boy. So a lot of my time is spent in snuggle mode.

2. I'm reading some, that's cool. You don't care, really. That's cool too.

3. I'm really into building, nay, *currating* a capsule wardrobe, so expect that to be featured soon. Or don't. If you've been around a while, you know not to expect me to follow through on blogging promises (Hi, Mimi!!). I actually started working on my capsule wardrobe over a year ago, and I totally planned to blog about it, and then I got pregnant and stopped doing everything. Now it seems like EEEEEVERY blogger is talking about their capsule wardrobe. And hopefully I will be, too.

So there you have it. My fairly dull, information-free foray back back into the blogging world. You're welcome.

*Full disclosure: I wanted to move my meme to the end of my post, but I couldn't figure out how to do it. So now it feels even more appropriate. Do me a favor, pretend you didn't see it already and that it neatly follows my last line of text and that I look cool for having such and awesome meme-ending to my post. And pretend I'm better at not creating (currating?) run-on sentences.


Fox Applique Tutorial and Pattern

This post is waaaaaay overdue, and I’ve been trying to work on it for months. I think I made my fox tee back in April. I don’t have any absolutely amazing photos of it, as creative documentation and I are sort of at odds with one another these days. I’m just excited to finally be sharing!

I’m gonna give a special shout out to my husband, who saved me from the pit of PDF-sharing ignorance and despair. And I’m dedicating this post to Mimi, who never gave up. 

Now that the credits are out of the way…

I give you the fox applique tutorial and pattern. You may remember this design from my *ahem* award-winning version of the Archie Doll.

Image


1. Print and cut.

If you’re making your own tee, the pattern I used is Dana’s Basic Tee. You can find my fox pattern here

Image


I did not include a pattern for eyes and a nose, but you guys should be able to figure that out. They’re just circles and a rounded triangle. 

Oh, and I should say that I did this applique with knit, so, when sewn, the edges will be left raw. And I sewed my applique onto my tee front *before* I assembled it, so that my t-shirt and sewing machine wouldn’t get into a fight. And use a ball-point needle!

2. Determine your placement and start sewing.

I don’t have pictures that get really specific about this, but pin on your first layer (the orange fox face), and sew the edges first. Then layer the whiskers and do the same thing. Now, I placed my whiskers a little high for my tastes, I meant to place them flush with the bottom of the fox face. So that’s the one change I’d make if I were doing this again. 

Image


3. Sew on the eyes and nose.

Image


4. Sew on the white ear pieces. And throw on some eyebrows for good measure.

Image

Then, if you’re making your own tee, assemble it. Boom, you’re done! 

Image


My shirt looks a little weird because I scaled up the pattern to a 5T, but I forgot to make the arms bigger. It doesn’t look as weird when Dex is wearing it. But if you resize a pattern, just remember to resize all the pieces!! 

Image


Dexter has worn this shirt like crazy for the past few months, mostly because I put it on him every single time it’s clean. 

I’d love to see if anyone recreates this! And, as usual, I’m cool with this being used for personal use, but not for monetary gain. 

Eggs and Hearts

Raise your hand if you can’t wait for Spring!! (Do you see my hand? I’m the one jumping up and down.)

I’ll be honest, I’ve been having difficulty blogging, because I’m just having… difficulty. In general. (Speaking of difficulty in blogging, if it looks like I have some weird spacing in this post, I don’t know why that is. Let’s just agree to ignore it together.)

Today was a halfway productive day, meaning the first half of the day was great and I got lots done.. and then everything crashed.

But during that exciting do-everything phase, I:

-Cleaned my entire kitchen and living room (Some of you may be thinking that cleaning the living room shouldn’t be listed as a grand accomplishment. Allow me to introduce you to my son. He’s blurry for a reason.)

Image-Researched lunches with Dexter while coaxing him to eat.

-Packed a week’s worth of kiddo lunches. This *is* impressive, because I cut all kinds of foods into heart-shapes, sooo…. I’m kind of a big deal.ImageImage-And yes, I boiled and dyed eggs (I really can’t wait until spring!! Also, I thought it would be fun for Dexter. And it was.)

I also relied heavily the good ol’ internet. And so I shall share with you the links that made my half-way productive day possible:

-Do *you* know how to boil an egg?? I don’t eat boiled eggs, so I certainly didn’t.

-What about dying eggs? We did a very basic dye-job with food coloring and vinegar, but this site gives you some tips on getting fancy with the eggs.

-We lived on my kiddo snackumz Pinterest board today. These sites in particular (1, 2, 3) really got Dexter excited about the pre-packed lunch idea.

-Hearts, hearts, and more hearts. They’re pretty much the only cool shape I’m confident in free-handing, and thankfully, Dexter really appreciates them. But have you seen this awesome tutorial on heart-shaped carrots?? Not hard, and totally worth it.

Now that I’ve written out all the awesome parts of the day and avoided complaining about the (really, really) bad parts, I feel much better about all that’s transpired and I’m ready to spend my evening relaxing. Sigh 🙂